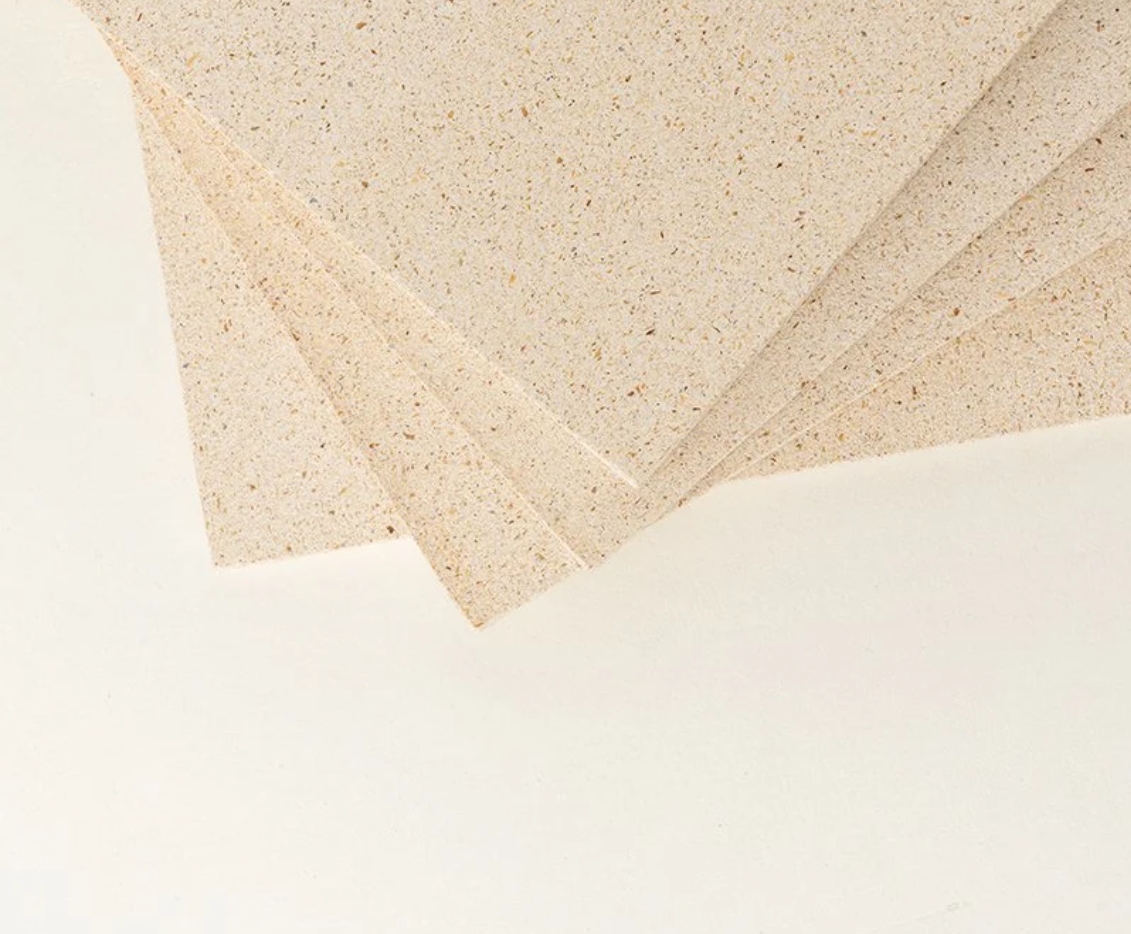
Installing magnesium boards, or MgO boards, is a straightforward process, but following some best practices can ensure optimal results. Here are some tips for correctly installing magnesium boards:
Preparation: Before installation, ensure that the work area is clean and dry. Check that the framing or substrate is level and properly aligned. This will provide a solid foundation for the magnesium boards.
Cutting: Use carbide-tipped saw blades to cut the magnesium boards to the desired size. For straight cuts, a circular saw is recommended, while a jigsaw can be used for curved cuts. Always wear protective gear, such as safety goggles and a dust mask, to avoid inhaling dust.
Fastening: Use stainless steel or corrosion-resistant screws to fasten the boards to the framing. Pre-drill holes to prevent cracking and ensure a secure hold. Space the screws evenly along the edges and in the field of the board for maximum stability.
Sealing Joints: To create a seamless finish, use joint tape and compound specifically designed for magnesium boards. Apply the joint tape over the seams and cover it with the compound. Once it is dry, sand the joints to create a smooth surface.
Finishing: Magnesium boards can be finished with paint, wallpaper, or tile. If painting, apply a primer first to ensure good adhesion. For tile installations, use a high-quality adhesive suitable for MgO boards.
Handling and Storage: Store magnesium boards flat and off the ground to prevent warping. Protect them from direct moisture exposure during storage to maintain their integrity.
By following these installation tips, you can ensure that magnesium boards are correctly installed and perform optimally in your construction project. Proper installation will enhance the durability and appearance of the boards, providing a long-lasting solution for your building needs.

Post time: Jul-13-2024

